Create a Firebase Project
The first step is to create a project in the Google environment.
Creating a Project
- Open the Firebase console and log in using your Google Account - if you are not already logged in.
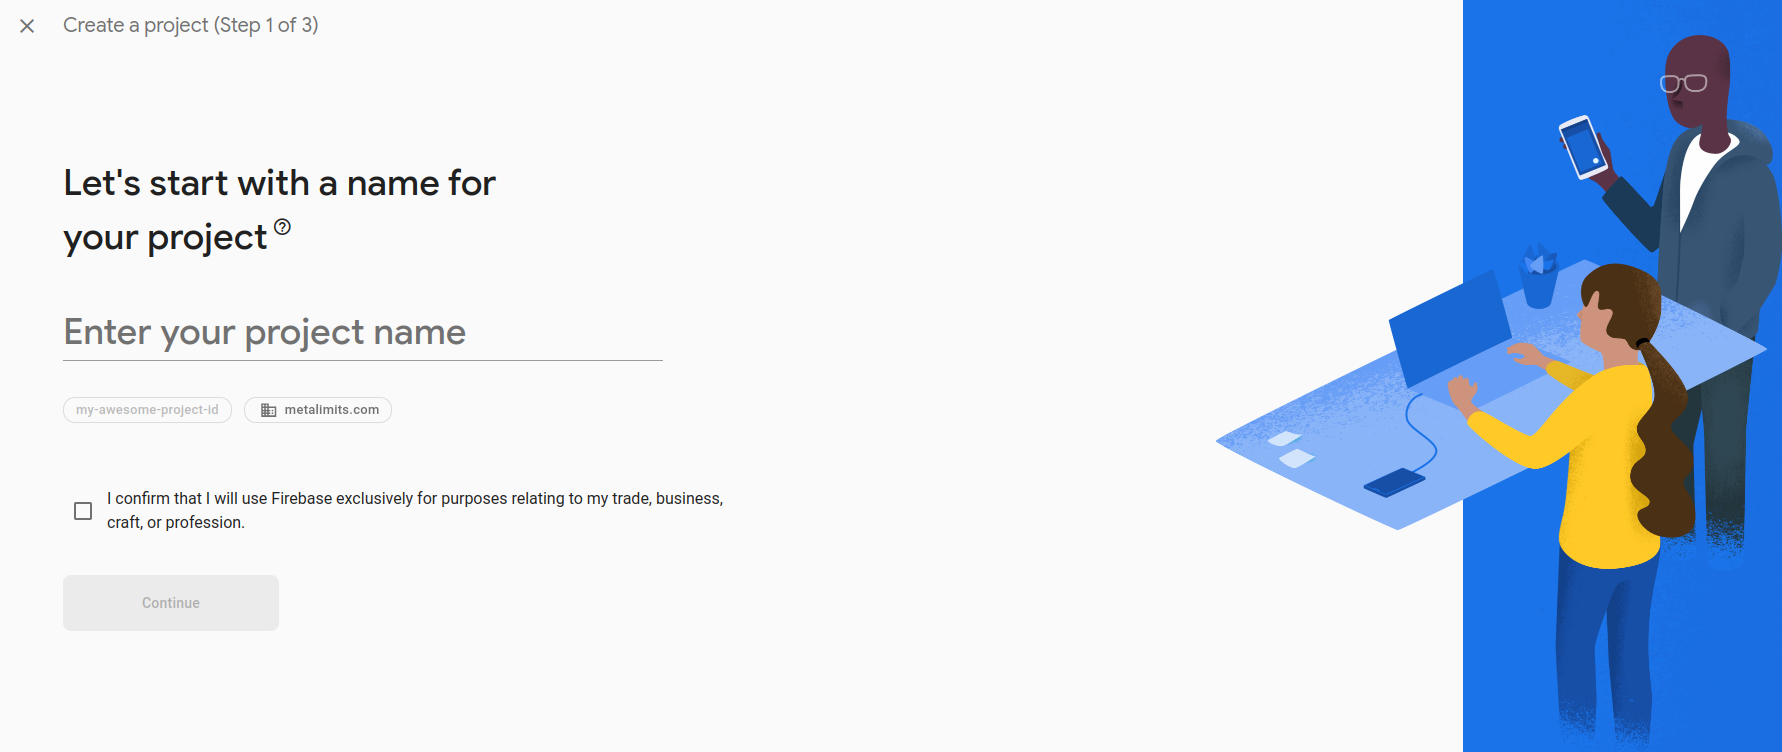
- Create a new project, enter the name of the project, and click continue.
- In the next step, you will be asked whether to set up Google Analytics. Let's go ahead and set it up.
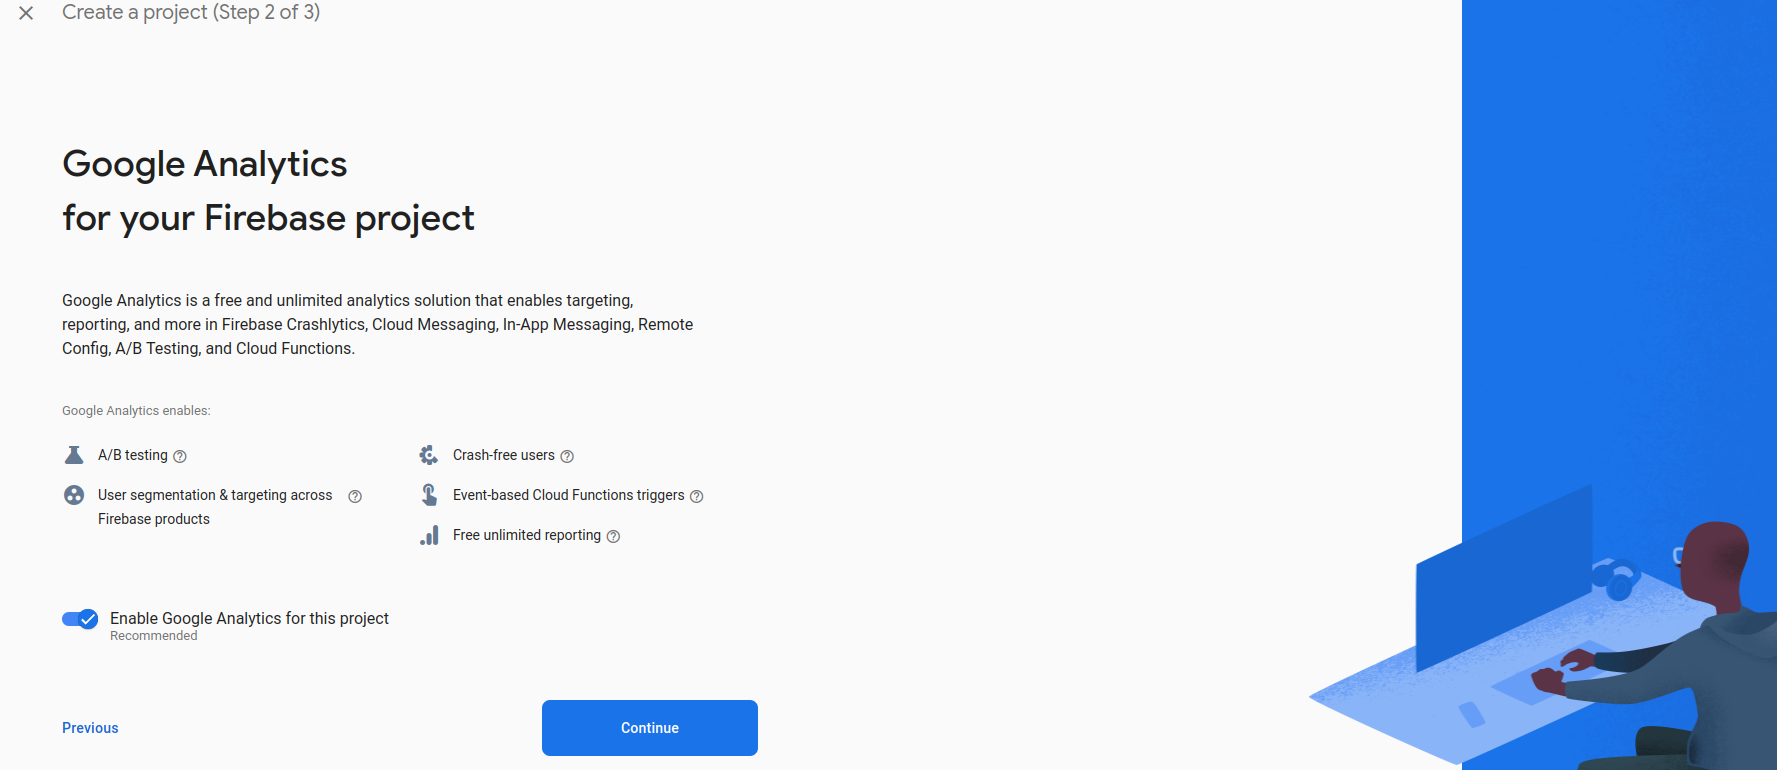
If you don't need Google Analytics, select the "Disable Google Analytics for this project (Recommended)" option. You can always set it up later.
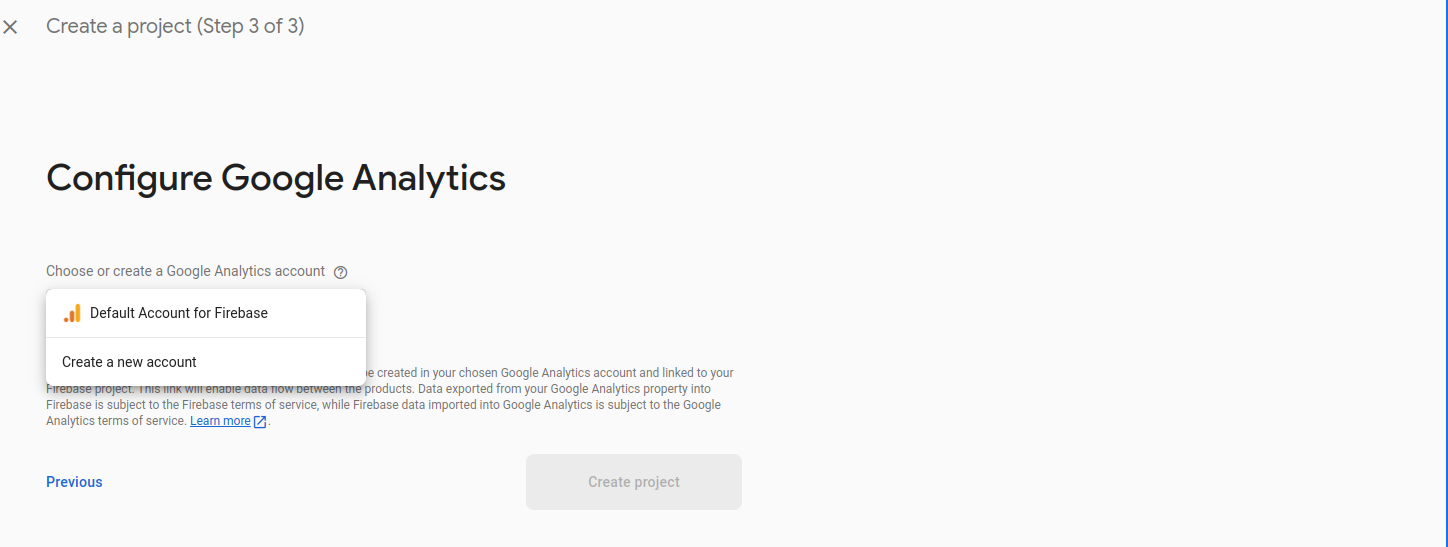
- If you are not setting up Google Analytics, skip the next 3 steps. In the following step, you will be prompted to either select or create a Google Analytics Account. If you already have a Google Analytics account, click on "Select Google Account" and choose the account. If you don't have one, click on "Create a new one" and enter the account's name.
- Finally, select the Google Analytics Location. The process should take just a few seconds, once done click continue, and you will be taken to the project's homepage.
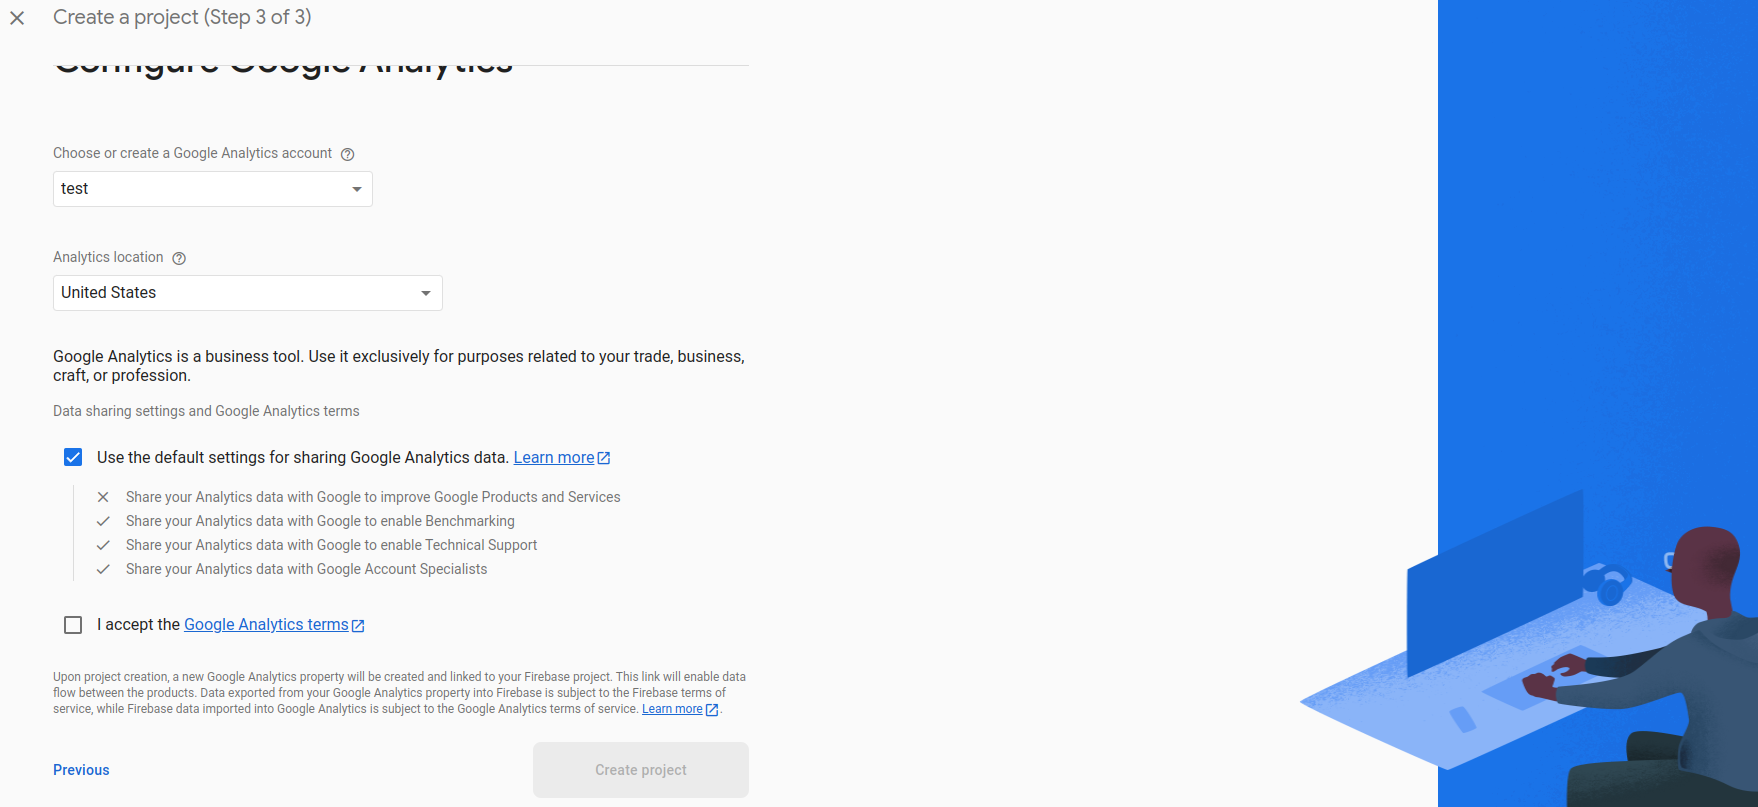
- The process should only take a few seconds. Once it's done, click continue, and you will be taken to the project's homepage.

App Creation
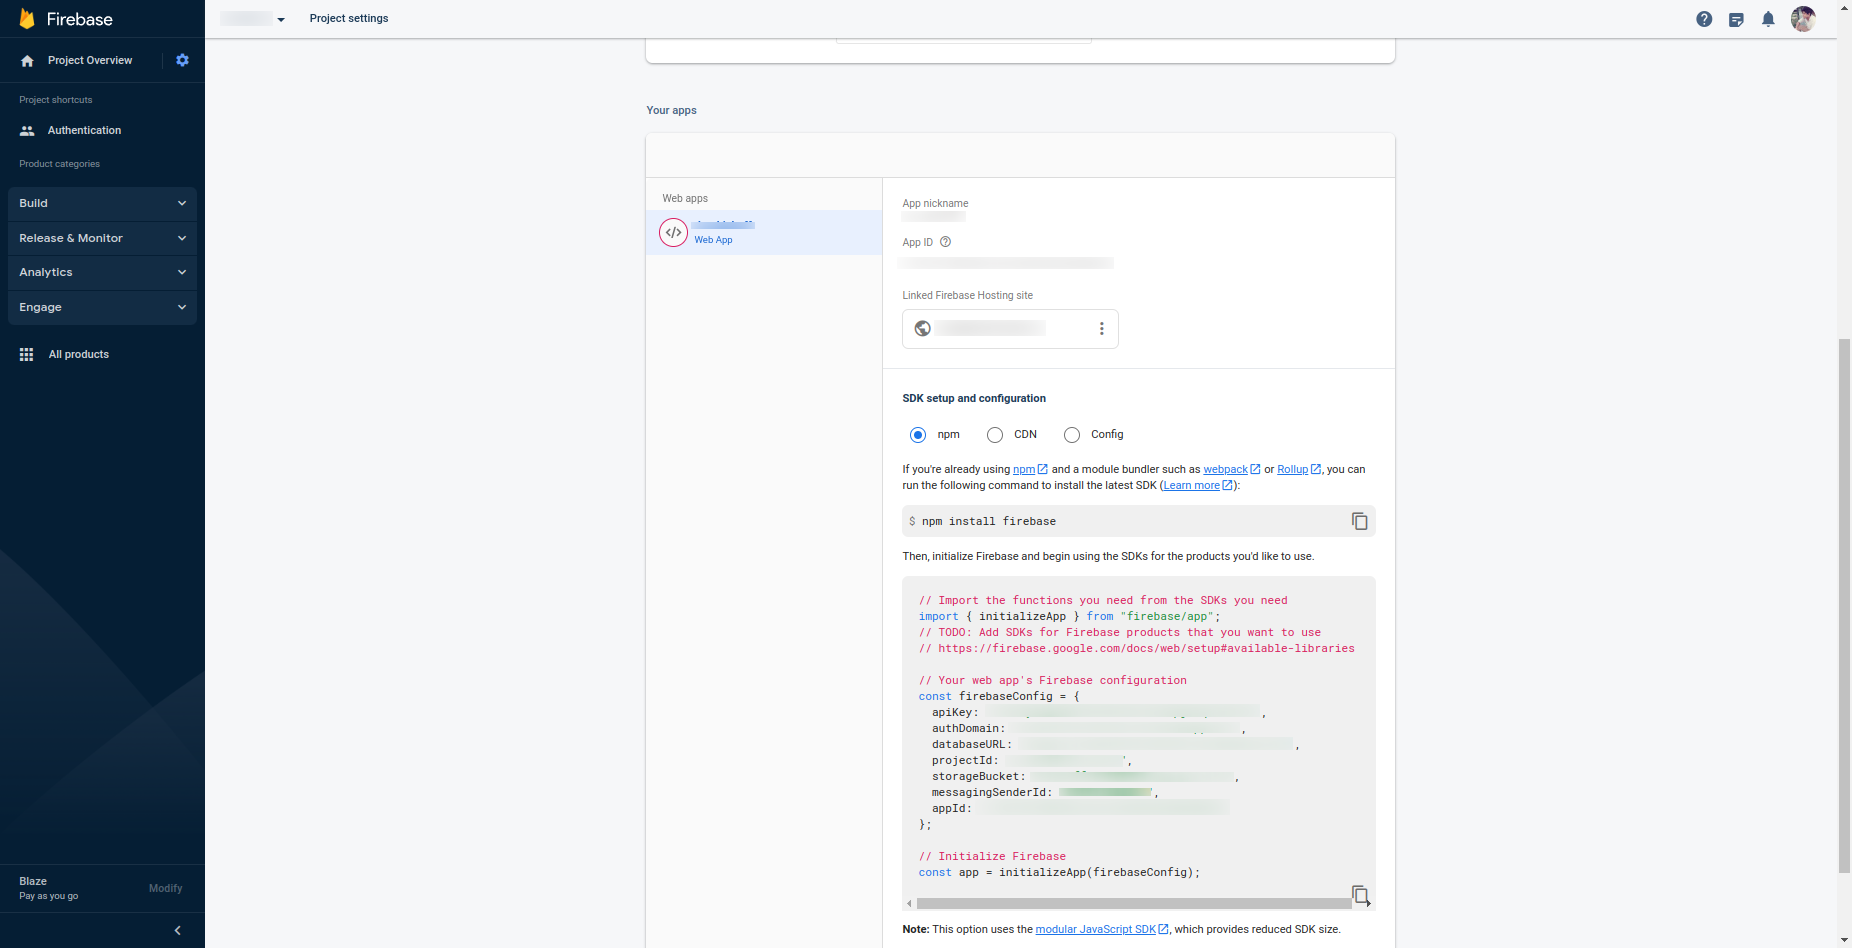
To obtain the required information (Firebase API key, auth domain, database URL, project ID, sender ID, and storage bucket) from the Firebase console, follow these steps:
- Open the Firebase console in your web browser.
- Select the project for which you want to retrieve the information.
- Click on the gear icon (settings) located next to "Project Overview" in the left sidebar and choose "Project settings".
- In the "General" tab, scroll down to the "Your apps" section.
- If you haven't already added your app to Firebase, click on the "Add app" button to register your app.
- Choose the platform (Web, iOS, Android) for which you want to obtain the configuration.
For the Web (JavaScript) platform:
- Select the Web platform icon.
- Firebase API Key: Under the "Firebase SDK snippet" section, you'll find the configuration object with the apiKey property.
- Auth Domain: The authDomain property is also present in the Firebase SDK snippet.
- Database URL: The databaseURL property is included in the Firebase SDK snippet.
For the Android platform:
- Select the Android platform icon.
- Firebase API Key: Refer to the "General" tab under "Your apps". The API key is listed in the "Web API Key" section.
- Auth Domain: Under the "General" tab, you'll find the "Firebase Auth Domain" section with the auth domain.
- Database URL: The database URL can be found under the "Database" tab, specifically in the "Realtime Database" or "Firestore" section.
For the Sender ID and Storage Bucket, the information can be obtained as follows:
- Sender ID: For Android, the Sender ID can be found in the "Cloud Messaging" tab under "Project settings". For iOS, it's referred to as the "APNs Authentication Key" or "APNs Certificates" section.
- Storage Bucket: The storage bucket information can be obtained in the "Storage" tab under "Project settings".
- If you already have the apps, then you will find values in your apps section.