Initializing a Database
This comprehensive guide is designed to provide guidance on how to effectively initialize a database. It covers essential aspects such as selecting the appropriate database management system, defining the schema, and setting up initial data. With step-by-step instructions and best practices, this document aims to help users ensure a smooth and efficient database initialization process.
Prerequisites
Before initializing the database, ensure you have installed the necessary tools: psql and flyway.
Database Initialization
To begin, you'll need to clone the project from the Github repository. If you don't have it already, you can do so by executing the following commands in your terminal:
Before running this script, it will create the organization, group, and user in the database and Firebase. Make sure the folder contains the necessary files. To create the user and organization, follow these steps.
1. Update .env File
Before running the initialization process, ensure you have the necessary configuration in place. Refer to the sample.env file for the required environment variables. Copy the sample.env file and rename it as .env, then replace the placeholders with appropriate values for your setup.
FABRIQ_DB_NAME=database name
FABRIQ_DB_HOST=host
FABRIQ_DB_PORT=port
FABRIQ_DB_USER=username
FABRIQ_DB_PASSWORD=password
DATABASE_URL=postgres://username:password@host/database name
REDASH_HOST=host url
REDASH_LOG_LEVEL=INFO
REDASH_REDIS_URL=redis://redis:6379/0
REDASH_RATELIMIT_ENABLED=false
WORKERS_COUNT=2
GRAPHQL_URL=http://graphql-engine:8080/v1/graphql
FABRIQ_HOST=host url
HASURA_GRAPHQL_ADMIN_SECRET=hasura admin key here
GPT_URL=http://openapi:5002
OPENAI_API_KEY=OPENAI_API_KEY
FABRIQ_ORG=org name
FABRIQ_ORG_SLUG=org_slug
FABRIQ_EMAIL=email
FABRIQ_USER_NAME=user_name
2. Firebase Admin Key
Make sure your resource/scripts folder contains the firebase-admin-key.json file. This file is essential for authentication and authorization processes during the initialization. If you don't have this file, obtain it from your Firebase project and place it in the appropriate directory.
firebase-admin-key.json
{
  "type": "service_account",
  "project_id": "project_id",
  "private_key_id": "private_key_id",
  "private_key": "-----BEGIN PRIVATE KEY-----\nyour private key\n-----END PRIVATE KEY-----\n",
  "client_email": "client_email",
  "client_id": "client_id",
  "auth_uri": "https://accounts.google.com/o/oauth2/auth",
  "token_uri": "https://oauth2.googleapis.com/token",
  "auth_provider_x509_cert_url": "https://www.googleapis.com/oauth2/v1/certs",
  "client_x509_cert_url": "client_x509_cert_url"
}
3. Initialization
Once you have updated the .env file and have the firebase-admin-key.json file in place, you are ready to proceed with the initialization process.
git clone https://github.com/fabriq-labs/fabriq-platform.git
cd fabriq-platform
./init.sh
During the initialization, the script will run various tasks, including setting up the schema and importing initial data into the database and organizationa & user creation.
Verification
To verify that the database scripts have been successfully imported, look for the following logs:
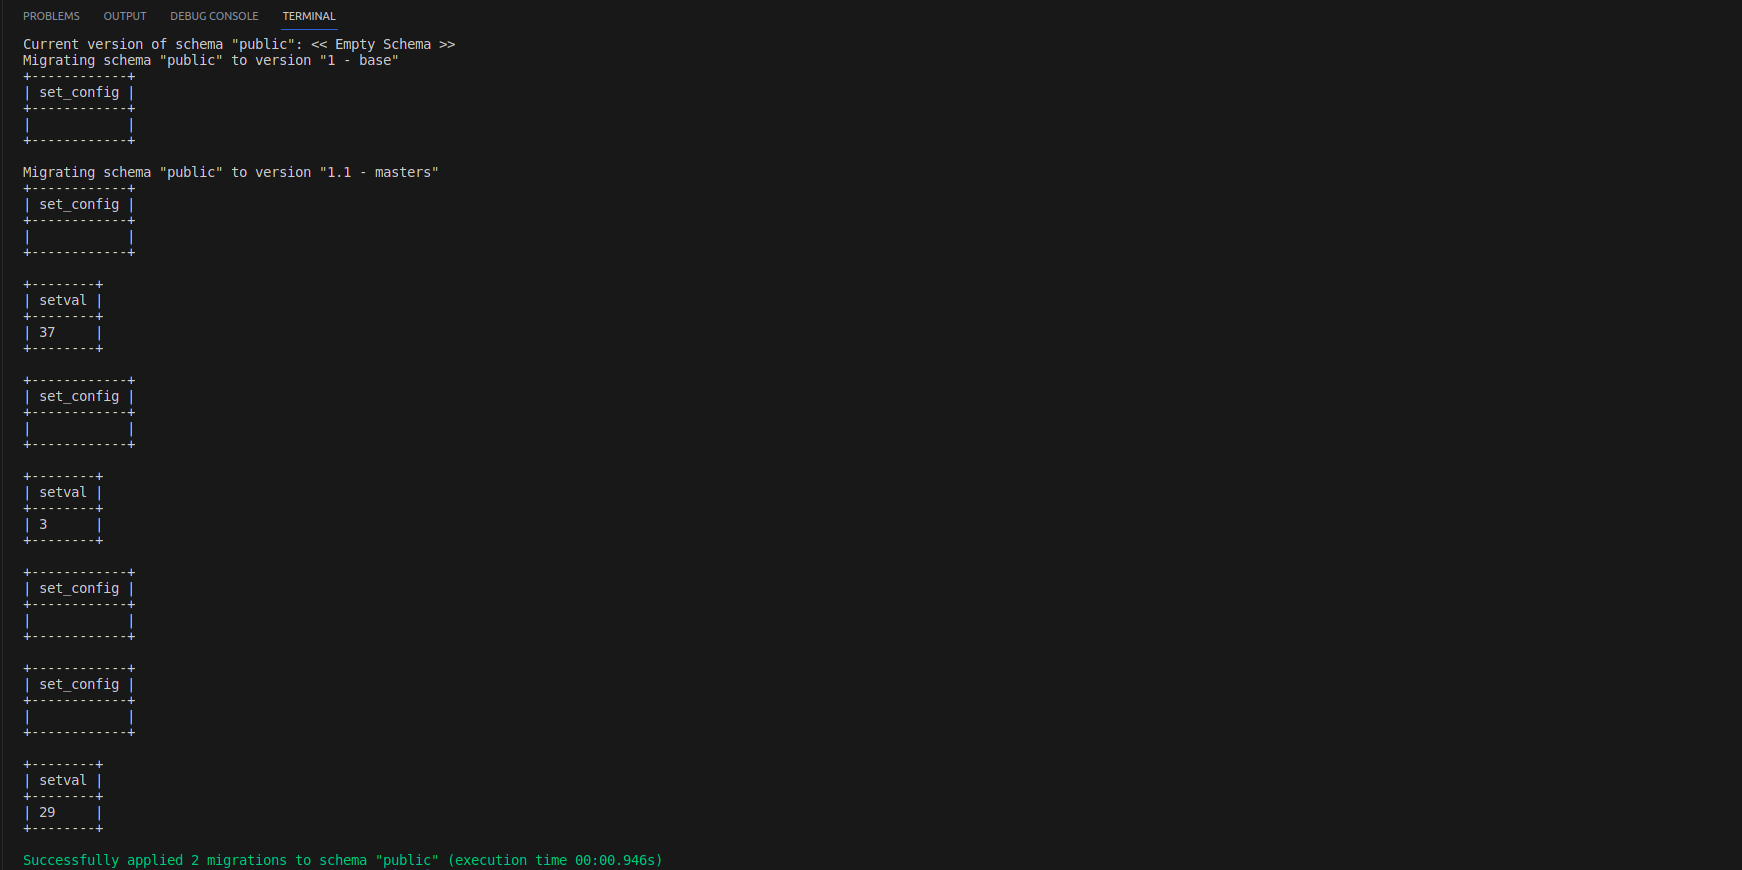
If you see these logs, it serves as confirmation that your database has been successfully initialized.
Congratulations! You have now successfully initialized your database, and it is ready for use with the project.
For more details on the database structure and how to interact with it, please refer to the project's documentation and codebase on GitHub.