Configuring Hasura
Hasura is an open-source engine that provides instant GraphQL APIs for your existing databases. It allows you to rapidly build and deploy GraphQL APIs without writing complex backend code.
This comprehensive guide is designed to help you swiftly set up and start using the Hasura GraphQL Engine along with a Postgres database, both running as Docker containers using Docker Compose. To begin the process, you can refer to the following link which provides detailed instructions on how to set up Hasura in a Docker environment: Click here.
Before performing any initialization process, you need to run your Fabriq app and GraphQL engine.
There are two options to initialize Hasura metadata:
- The first option is to run the
hasura-init.shfile. - The second option is to directly import the metadata.
Step 1: Initialize using hasura-init.sh
Before proceeding with the initialization process using hasura-init.sh, ensure that your GraphQL engine is running. Additionally, make sure that you have provided valid database details and the Hasura URL in the .env file.
git clone https://github.com/fabriq-labs/fabriq-platform.git
cd fabriq-platform/resource/scripts
./hasura-init.sh
After running the script file, you will receive an output similar to the following:
Build Database URL For database name
Append database details in the metadata is inprogress
Append database details in the metadata Successfully
Import Metadata to hasura http://localhost:8081
{"inconsistent_objects":[],"is_consistent":true}Import Metadata Successfully
Step 2: directly import the metadata
- You can obtain the Hasura metadata by accessing it here
After downloading the files, remember to update the database details in the following section:
"configuration": {
  "connection_info": {
    "database_url": "postgres://postgres:postgres@localhost:5432/meta_dev",
    "isolation_level": "read-committed",
    "use_prepared_statements": false
  }
}
- After Hasura is online, go to the
Settingstab in the Hasura admin console.
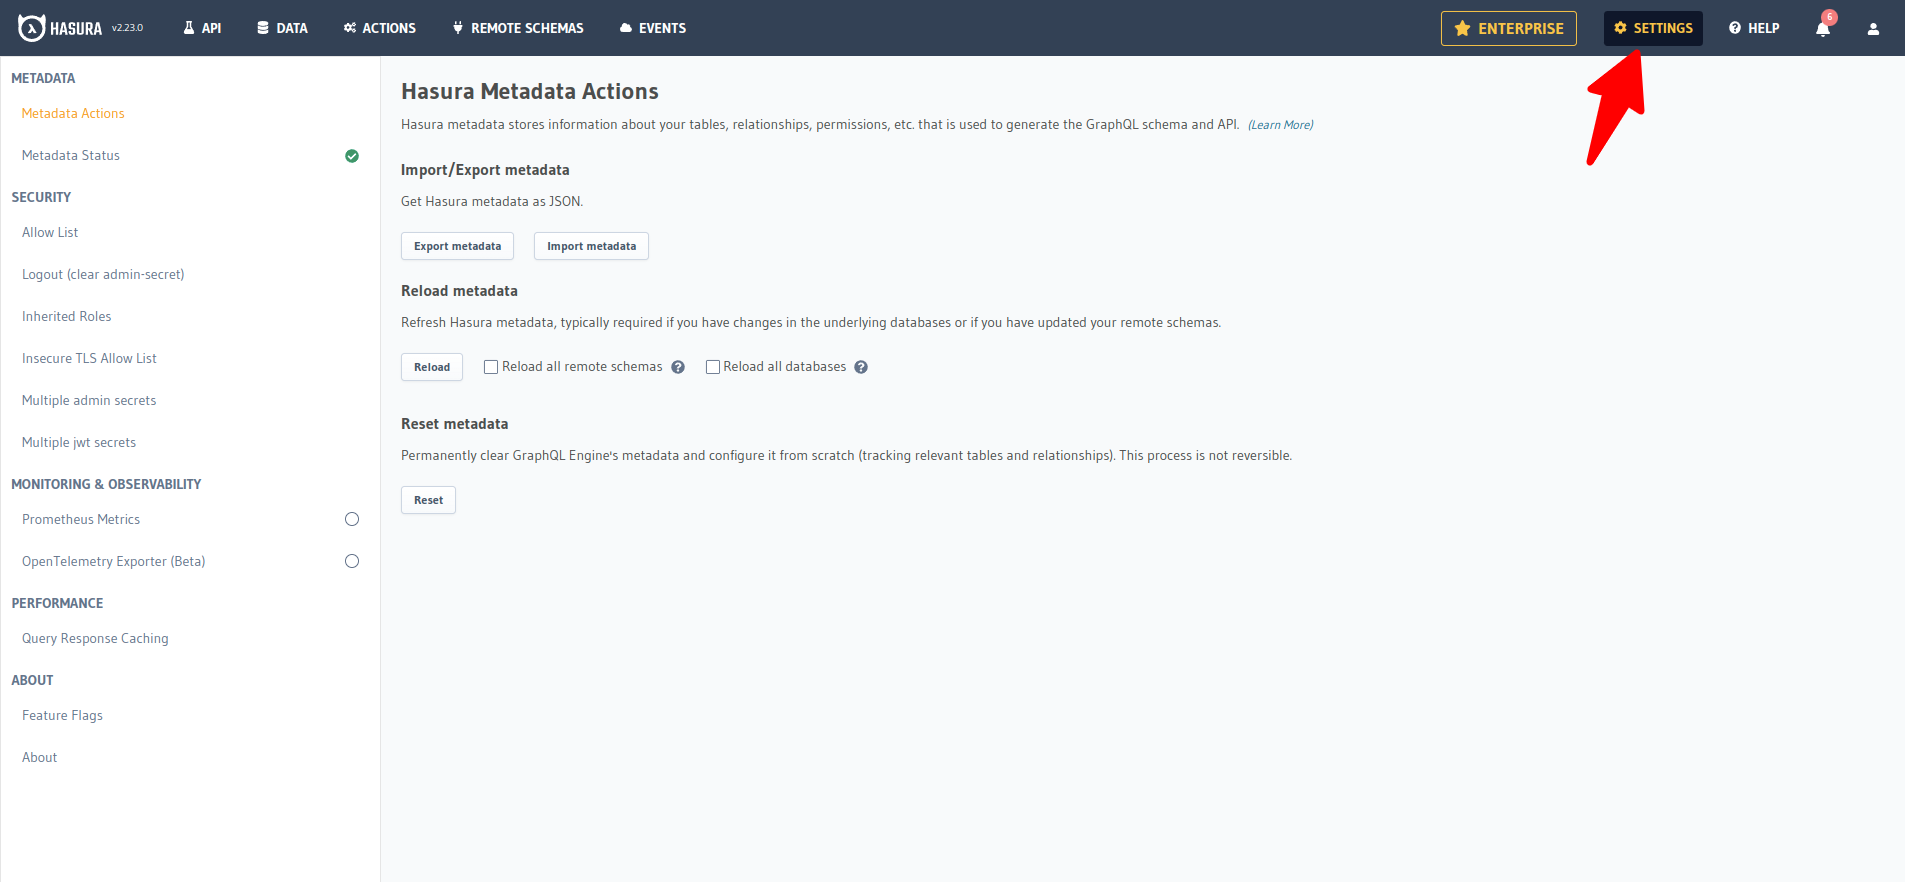
- Click on the 'Import' button, select the respective metadata file, and upload it to import the metadata.
